5 分鐘幫 Astro 部落格加上 Giscus 留言功能

比較了幾個留言系統後,我決定用 Giscus——直接用 GitHub Discussions 當後端,$0、零維運。這篇直接來實作——從零到留言功能上線,真的只要 5 分鐘。
⚠️ 開始之前:你的 Repo 必須是 Public
Giscus 依賴 GitHub Discussions,而 Discussions 只在 public repo 上運作。如果你的 blog repo 是 private,有兩條路:
- 把 blog repo 改成 public(推薦)— 最簡單,留言和程式碼在同一處
- 另建一個 public repo(例如
your-name/blog-comments)— 原始碼保持 private,Giscus 指向新 repo大多數部落格作者選方案 1,因為部落格原始碼公開沒有安全風險。如果 repo 裡有 API keys 或私人筆記,才需要方案 2。
Step 1:開啟 GitHub Discussions
到你的 blog repo → Settings → Features → 勾選 Discussions。
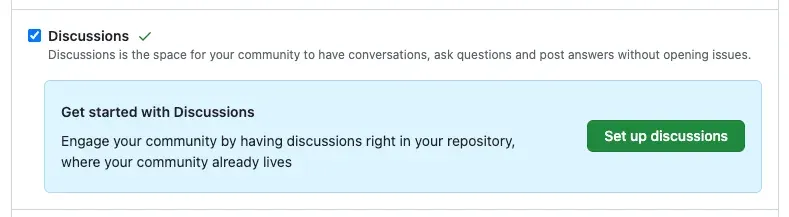 這一步讓你的 repo 有了 Discussions 功能,Giscus 會把每篇文章的留言存成一個 Discussion。
Step 2:安裝 Giscus App
到 github.com/apps/giscus → Install → 選擇你的 blog repo。
 這個 GitHub App 負責幫 Giscus 在你的 repo 裡建立和管理 Discussions。
Step 3:產生設定
到 giscus.app 填入你的 repo 名稱,選擇:
- 頁面與 Discussion 的對應方式:推薦
pathname(用文章路徑對應,最直覺) - Discussion 分類:推薦先到 repo 建一個
Blog Comments分類,再選它 - 主題:推薦
preferred_color_scheme(自動跟系統深淺色)
填完後,網頁底部會自動產生一段 <script> tag,裡面包含你的 data-repo-id 和 data-category-id。
Step 4:建立 Astro 元件
在 src/components/blog/ 底下建立 Comments.astro:
---
// src/components/blog/Comments.astro
---

<section class="giscus-wrapper">
  <script
    src="https://giscus.app/client.js"
    data-repo="你的帳號/你的repo"
    data-repo-id="你的repo-id"
    data-category="Blog Comments"
    data-category-id="你的category-id"
    data-mapping="pathname"
    data-strict="0"
    data-reactions-enabled="1"
    data-emit-metadata="0"
    data-input-position="top"
    data-theme="preferred_color_scheme"
    data-lang="zh-TW"
    crossorigin="anonymous"
    async></script>
</section>
把 Step 3 產生的值填進對應的 data-* 屬性。
Step 5:嵌入文章頁面
在你的文章 layout(例如 BlogLayout.astro)底部加上:
---
import Comments from '../components/blog/Comments.astro';
---

<!-- 文章內容 -->
<article>
  <slot />
</article>

<!-- 留言區 -->
<Comments />
推上去,完成!
3 分鐘快速上手(裝完之後)
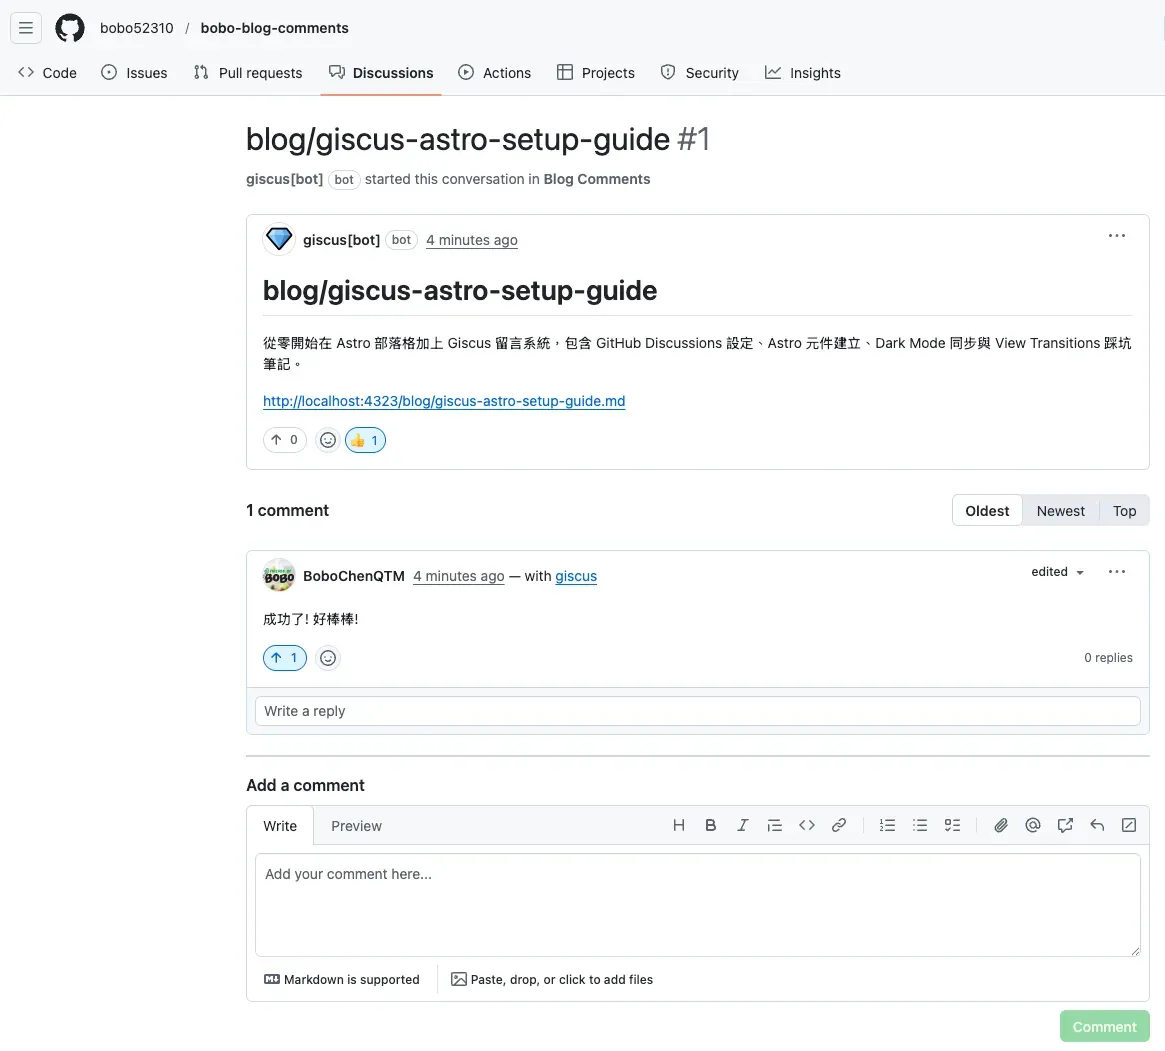
- 發布後測試:開啟任一文章頁面,滾到底部應該看到 Giscus 留言區
- 第一則留言:用你自己的 GitHub 帳號留言測試,確認 Discussion 有正確建立

- 到 GitHub 確認:回到 repo → Discussions → Blog Comments 分類,你會看到一個新的 Discussion 對應到那篇文章的路徑
如果留言區沒出現,打開 DevTools Console 看有沒有錯誤訊息——最常見的原因是 data-repo-id 或 data-category-id 填錯。
踩坑筆記
View Transitions 讓留言區消失
如果你的 Astro 站有開 View Transitions,頁面切換時 Giscus 的 <iframe> 不會重新載入,留言區會空白。
解法是監聽 astro:page-load 事件,在頁面載入時重新渲染:
<script>
  document.addEventListener('astro:page-load', () => {
    const container = document.querySelector('.giscus-wrapper');
    if (container) {
      const existingIframe = container.querySelector('iframe');
      if (existingIframe) existingIframe.remove();

      const script = document.createElement('script');
      script.src = 'https://giscus.app/client.js';
      script.setAttribute('data-repo', '你的帳號/你的repo');
      // ...其他 data 屬性
      script.crossOrigin = 'anonymous';
      script.async = true;
      container.appendChild(script);
    }
  });
</script>
Dark Mode 不同步
preferred_color_scheme 跟的是系統設定,不是你網站自己的 dark mode toggle。如果你的網站有自訂深淺色切換,需要用 postMessage 跟 Giscus 的 iframe 溝通:
function setGiscusTheme(theme) {
  const iframe = document.querySelector('iframe.giscus-frame');
  if (iframe) {
    iframe.contentWindow.postMessage({ giscus: { setConfig: { theme } } }, 'https://giscus.app');
  }
}

// 在你的 dark mode toggle handler 中呼叫
setGiscusTheme(isDark ? 'dark' : 'light');
Repo 必須是 Public
GitHub Discussions 只在 public repo 上運作。如果你的 blog repo 是 private,留言區會顯示「Discussion not found」。
你有兩個選擇:
| 方案 | 做法 | 優點 | 缺點 |
|---|---|---|---|
| A(推薦) | 把 blog repo 改成 public | 最簡單,一處管理 | 原始碼公開 |
| B | 另建一個 public repo 專放留言 | 原始碼保持 private | 多一個 repo 要維護 |
如果選方案 B,Step 3 填入的 repo 名稱要改成那個新的 public repo,其他步驟不變。